
*This article may contain affiliate links. For full information, please see the disclaimer here.
Famed for its natural beauty, the region of Patagonia has become a pilgrimage for outdoor enthusiasts from across the globe. And Torres del Paine National Park, one of the most breathtaking wonders not only in South America, but in the world, is one of the most popular destinations within the region.
A rugged, untamed wilderness filled with a bounty of flora and fauna and constantly changing terrain, seeing it in person can feel almost too good to be true. From rarely-seen shades of blue and green in its water and vegetation, to the sounds of crashing glacial ice, to snow-covered ascents and descents that force you to feel the earth in new ways, Torres del Paine is truly an experience that engages all the senses.
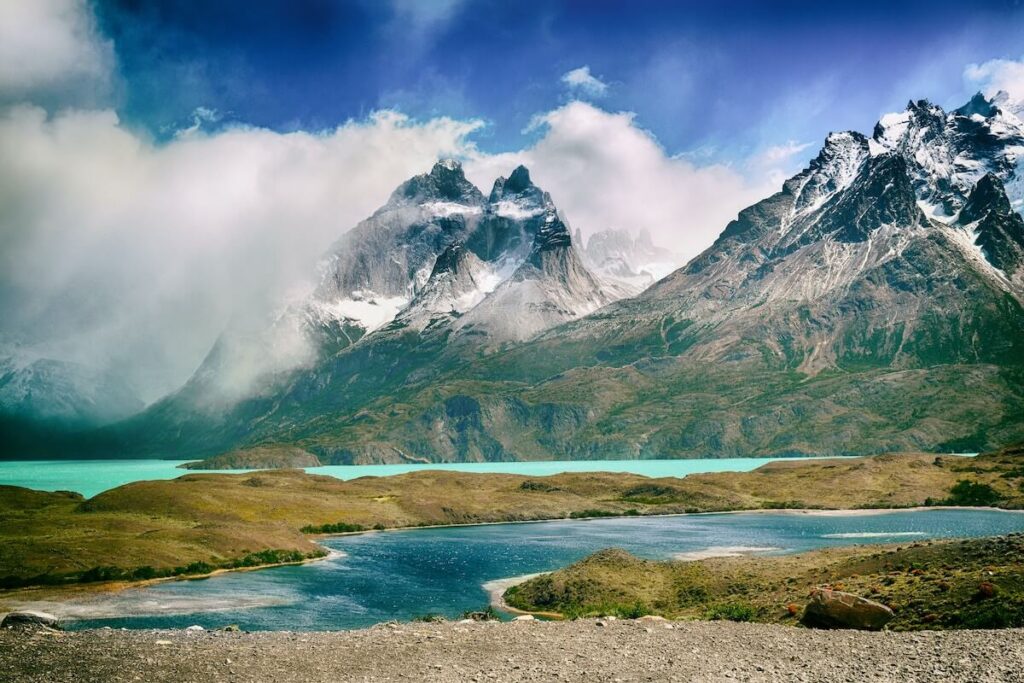
Despite its popularity, trekking and planning a trip there can be difficult. From booking campsites, to packing, to the strain of multiple days of hiking, it can challenge even the most experienced outdoors person. To enjoy the adventure and scenery, hikers should be well prepared. The goal of this guide is to provide future hikers with helpful, actionable tips.
But first, a quick note. Because it is the pinnacle of hiking in Chilean Patagonia, this guide will focus primarily on Torres del Paine National Park, but many tips, recommendations, and considerations can be picked up and applied elsewhere for other exploration of broader Chilean Patagonia.
Table of Contents
Where is Chilean Patagonia?

Most people have heard of the region, but common Google searches ask where it is, and whether Patagonia is in Chile or Argentina. So, let’s get oriented.
At the broadest level, Patagonia is a large geographical region located in the southern reaches of South America, spanning the countries of both Chile and Argentina, touching the Atlantic and Pacific Oceans, as well as the Drake Passage to the south.
Because it spans multiple countries and is a broad geographical region, Patagonia doesn’t have an explicit starting point, but most would agree that the northern border in Chile lies in the middle of the country, in the Araucanía region. The Colorado River is often considered the northern boundary on the Argentinian side.
Depending on the exact boundary demarcation, Patagonia has an area of approximately 300,000 to 400,000 square miles. Because of its size, it is remarkably diverse, with forests, lake regions, deserts, mountain ranges, islands, and particularly in the south, many glaciers.
So when you say you’ve been, or are going to Patagonia, it helps to get a little more specific.
Given the sheer scale, many gorgeous places are worth exploring for hiking trips in Chilean Patagonia. To the farthest southern part of the continent, where the land breaks into pieces like little crumbs, there are trails all over the islands of Tierra del Fuego.
Along the Carretera Austral, a highway that spans the heart of the country from Puerto Montt to Villa O’Higgins, lie stunning parks that include the likes of Queulat National Park and Cerro Castillo National Park. Renting a car and making hiking stops up and down the Carretera Austral is truly one of the great Chilean adventures to be had.
Chilean Patagonia even encompasses what is known as the southernmost hiking trail in the world, on Isla Navarino.
But the granddaddy of hiking in Chilean Patagonia is Torres del Paine.
What is Torres del Paine?
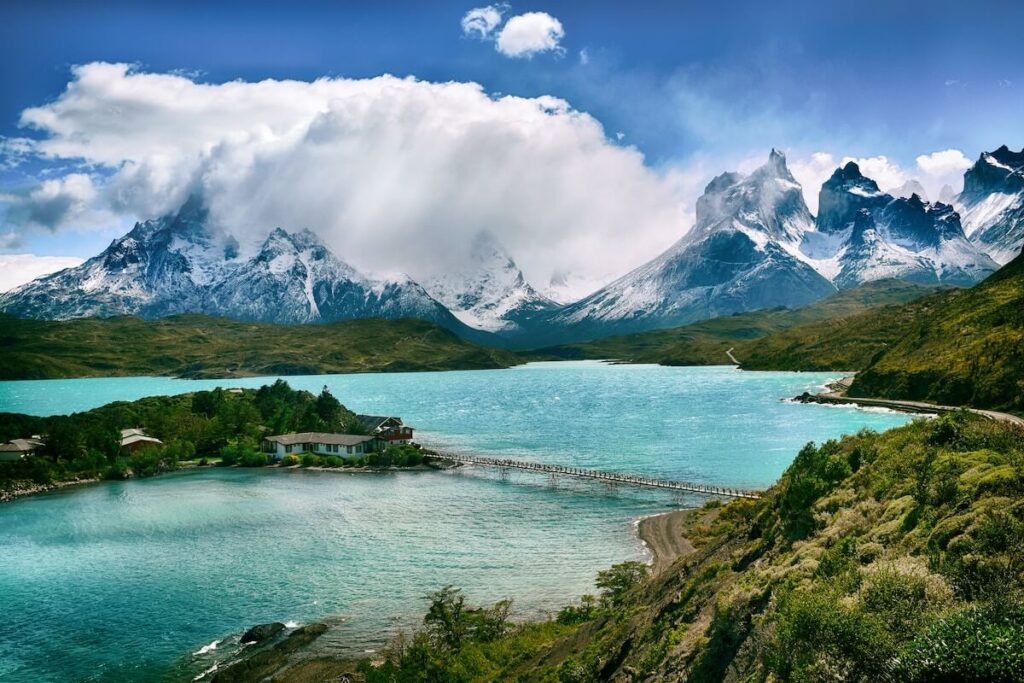
This guide is specifically tailored to the main attraction of Chilean Patagonia, Torres del Paine. Located in the Magallanes region of Southern Chile, the area circling the Cordillera Paine mountain range was established as a national park in 1959 and became a UNESCO Biosphere Reserve in 1978.
The name translates to “Blue Towers,” a combination of the Spanish word for towers (Torres), and the word “Paine”, translated from the indigenous Tehuelche language. The towers referred to here are the three tall-standing granite rock formations in the center of the park, known as “Las Torres.”
Torres del Paine has become one of the most iconic places in the world for trekking, its challenging terrain, and its breathtaking scenery. The park is varied in its ecology, with four broad ecological zones, including pre-Andean scrubland, deciduous Magellan forest, Patagonian steppe, and Andean desert.
President Barack Obama even covered Torres del Paine in his Netflix show Our Great National Parks. Watching the episode will surely give you some perspective and appreciation for just how extraordinary Torres del Paine is, but nothing beats the real thing. This guide will prepare you for planning, packing, and executing a trip to this magical part of the world.
Why some travelers avoid Torres del Paine
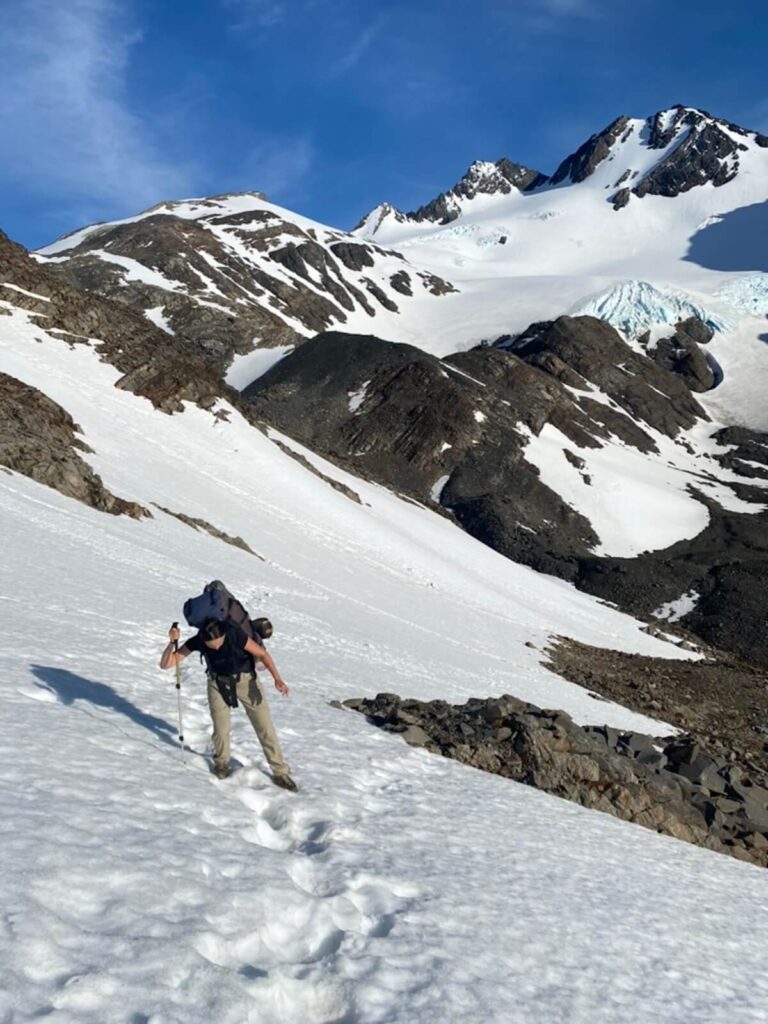
Candidly, it is not for everyone. There’s a significant, detailed level of planning required to go. The weather can be harsh and unpredictable, and when you’re in a tent you’re exposed to it 24 hours per day. The terrain can be unrelenting and challenging.
Torres del Paine is also quite far from many big cities of the world, making it an investment of not only money but also time to go there. Part of its allure is isolation and remoteness, but it also means it can be a bit of an odyssey to get to.
Some people will also ask, is trekking in Patagonia safe? The answer to this is yes, but only if you come prepared with the right gear, knowledge of the terrain, and a background in outdoor exploration.
Others will express concern about cougars, or pumas in the park. You’ll see plenty of cougar icons on park stickers or toys at souvenir shops throughout the region, but sightings are quite rare, as the big cats are solitary creatures and will often avoid human contact.
Your biggest risk is simply coming unprepared for the notoriously temperamental weather. Understanding these risks can be a deterrent for some travelers. But for those willing to put in the preparation, the rewards can be immense.
Why you should go trekking in Torres del Paine

There are so many reasons to go trekking in Torres del Paine National Park. The most obvious is getting to witness its staggering beauty. Even though it is a popular destination, it remains raw and unvarnished, and one of the truest places on earth to fully immerse yourself in the natural world.
There’s the serenity of sweeping grasslands scattered with dainty gold flowers, the unique shades of blue and gray that sit in the crevices of glaciers, and fiery orange sunrises that emerge over the mountain peaks each day. Nearly every twist and turn of the park appears to reveal new ecosystems and vegetation and rock formations, with the earth seemingly showing off its big bag of tricks.
More vainly, having completed a circuit of Torres del Paine, particularly the O trek (there are two different treks, the “O” and “W” — more on this later) gives any hiker some credibility. To say you’ve seen Las Torres, weathered the long stretches of flatland leading to Dickson, or crested John Garner Pass, gives you a badge of honor, and hopefully a sense of pride.
For anyone looking for a challenge, Torres del Paine will provide. While elevation isn’t an issue, with the highest point on the O trek sitting at approximately 4,000 feet, the trek is not for the faint of heart, especially when considering carrying all of your food and gear on your back. You’ll have countless opportunities to push yourself to places you may not have been before.
Tips for trekking in Torres del Paine

Here are 14 tips, and perhaps a few extra, for hiking in Torres del Paine, the crown jewel of Chilean Patagonia.
Planning your trek
1. Visit during the right time
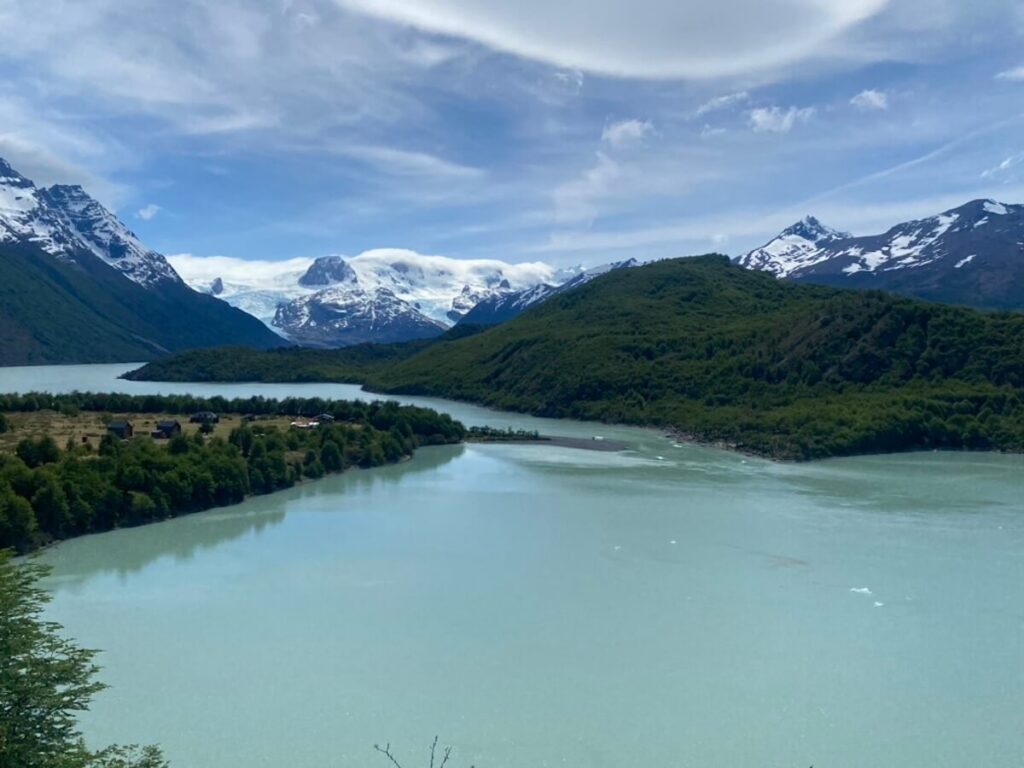
Though obvious for those living in the Southern Hemisphere, for those living in the Northern Hemisphere, it’s worth noting that the depths of winter is July, and the peak of summer is January.
Unsurprisingly, the most popular, and crowded time to visit is during the summer months, from December to February. It’s also typically the most windy. That said, the weather is at its warmest, which can make packing a little bit easier (and lighter).
There is quite a bit of sunlight during the summer months, given how close Torres del Paine is to the South Pole. At its peak in December, the park sees about 16.5 hours between sunrise and sunset.
The best times of the year to visit are in the Fall, from September through November, and in the Spring, in March and April. This is when the weather may be a bit colder and you’re more likely to encounter snow than in the summer months, but there are fewer visitors, and the changing of the seasons can be quite colorful. Deciding between spring flower blooms versus fall foliage is the ultimate question!
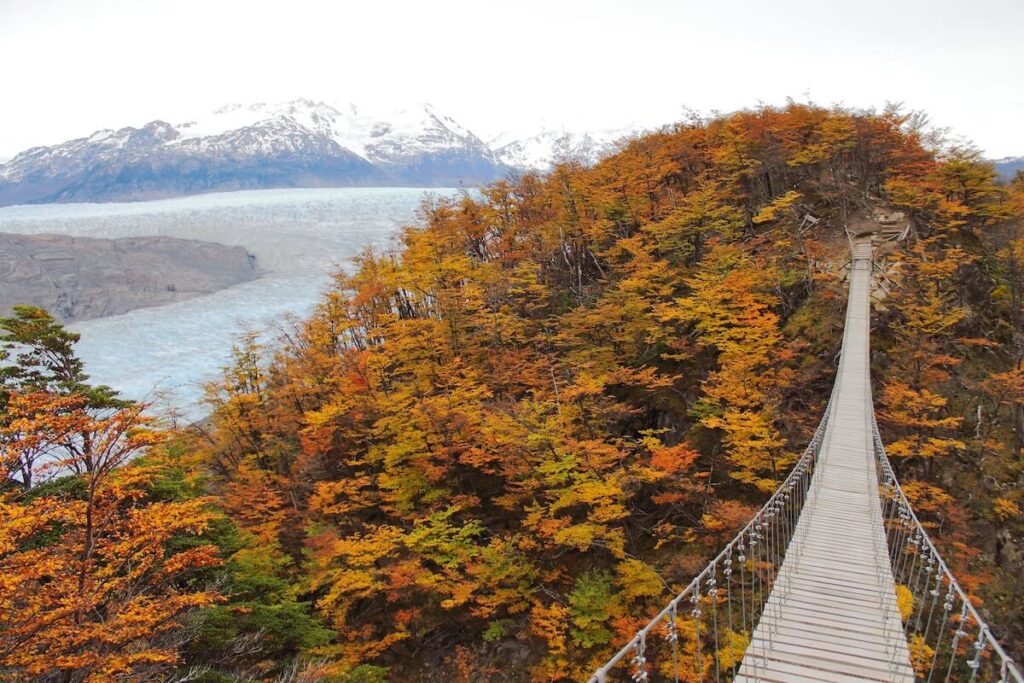
One essential thing to bear in mind is the fact that the “O” can only be done from November through April, otherwise, the campsites are closed for the more severe months of the year. The W trek is typically open longer, from September through April. You’ll know if you’re trying to book campsites out of season, as you’ll be restricted from doing so.
Some snow-white winter hikes can be done, mostly heading out from Central to the base of Las Torres, but to fully experience Torres del Paine, you’ll need to come in a different season.
2. Choose the optimal route for you
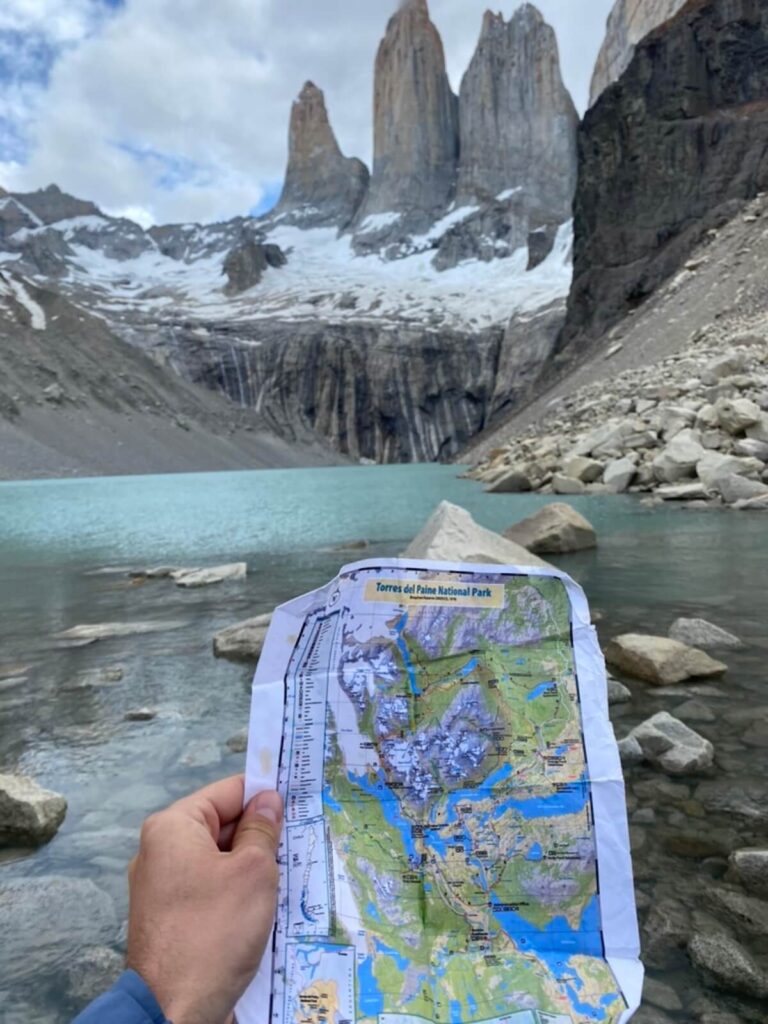
There are two main routes to take. “Team W” versus “Team O.” It’s up to you.
The O trek is the full loop of Torres del Paine, with all of its valleys, mountain passes, forest trails, and meandering prairie paths. The trail is (loosely) shaped into an “O,” with a couple of deviations for hikes to Mirador Británico and Mirador Las Torres.
A sample route on the O trek would be between the following campsites: Serón to Dickson, Dickson to Los Perros, Los Perros to Grey, Grey to Paine Grande, Paine Grande to Cuernos, and Cuernos to Chileno.
The W trek, like the “O,” is shaped like the letter, and contains a large portion of what’s covered in the O trek, albeit an abbreviated version with the top half lopped off. Typically the farthest campsite to the east of the trek is Chileno, and the farthest west is Grey.
A sample route on the W trek would be Central to Chileno, Chileno to Francés, Francés to Paine Grande, and Paine Grande to Grey.
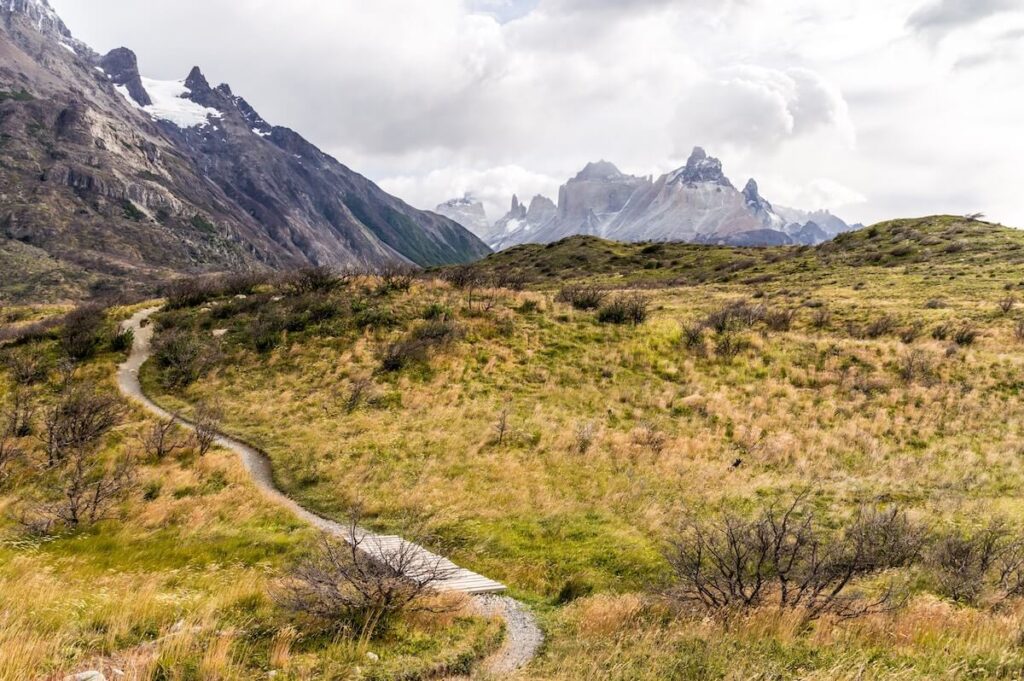
The first consideration is the overall length of the trip. The “O” typically takes seven to nine days, whereas the “W” typically takes four to six. If you don’t have a full two weeks in Chile or are trying to squeeze the trek into a broader itinerary, then the decision is fairly easy. And to get ahead of any overly ambitious hikers out there, trying to squeeze the full “O” into a four to six-day period is not going to be a wise decision.
The other consideration is your physical capability. The hikes of the northern portion of the “O” are some of the most challenging in the entire circuit, in addition to the trek being longer by a magnitude of days, which also necessitates carrying a heavier pack. So if you’re not quite ready or confident to take on the full beast, it would be safer and wiser to choose the “W.”
3. Understand how to reserve campsites

Thankfully for the well-being and preservation of the park, all visitors are required to book campsites and accommodations in Torres del Paine prior to entry. Typically the booking season opens up in August, and because there is limited capacity, it’s best to book well in advance.
Unfortunately, the booking process isn’t all that simple. While the park is officially run by the Corporación Nacional Forestal (CONAF), CONAF only “operates” two campsites. The quotation marks are necessary because the two campsites, Paso and Italiano, are closed and have been for years. Don’t count on them.
So at this point, hikers have to turn towards the other private campsite operators within the park — Las Torres (recently rebranded from Fantastico Sur), and Vertice Travel. Las Torres operates the Central, Chileno, Cuernos, Francés, and Séron campsites. Vertice operates Los Perros, Grey, Dickson, and Paine Grande.
One important thing to note when booking campsites — pour yourself a cup of coffee or tea, because it might be a while and requires patience. The sites are notoriously slow, glitchy, and may crash. So don’t plan to do it in a pinch.
4. Picking the right campsites
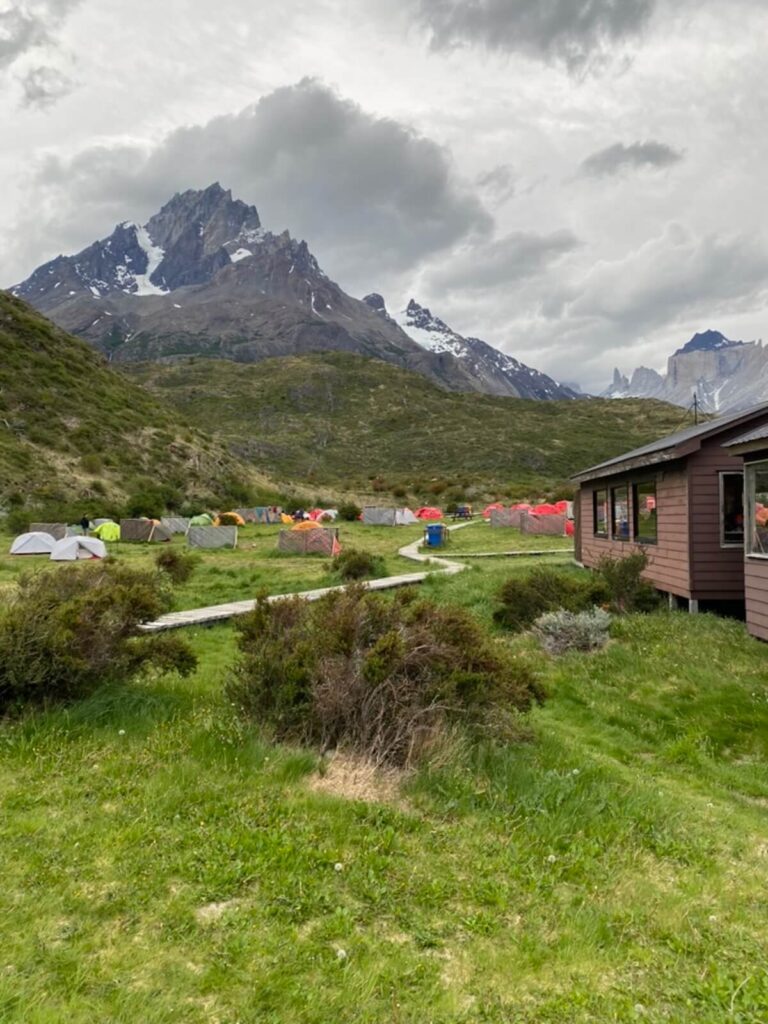
There are three main components to booking a campsite. The first is choosing the sites in the correct order. Second, you have to decide how long to commit to hiking each day. And third, the style of accommodation must be considered as well, which we’ll get to in the next section.
There’s a requirement for those taking on the “O,” and that’s that it is to be circumnavigated in a counter-clockwise direction. (The “W” can be hiked in either direction).
The forced direction of the “O” means fewer decisions need to be made when booking campsites, but the most substantial benefit is that it helps preserve the sense of tranquility and isolation in the northern section of the park, as you’re not crisscrossing with people from both directions.
Perhaps the most crucial decision that needs to be made when taking on the reservation process is deciding how much distance to cover each day.
There’s a balance that needs to be struck between making enough progress each day to complete the trek within your time constraints while being cognizant of the fatigue that builds throughout the journey. When possible, it is optimal to book campsites with similar durations in between, to establish consistent, sustainable progress.

Using this detailed map, you can find the length of each leg of the trail (in kilometers), along with rough estimates of how long each segment will take. Additionally, it includes another point of the utmost importance, which is when each trail closes for the day.
With fewer campsites that line the top of the “O,” from Serón to Grey, the daily progression is typically just moving from one campsite to the next. But when you get down into “W” territory, there is a higher density of campsites, where you’ll want to dig into the map and decide how many kilometers to cover each day, and which campsite to skip over.
5. Choosing your style of campsite

Although the most minute of all campsite choices, the accommodation selection at each site remains an important one, for comfort, packing choices, and your wallet.
Each campsite throughout the park has varying levels of accommodation. Los Perros, for example, only has campsites for setting up your own tent. Chileno, however, has options for tent platforms, basic campsites, and a dorm-like refugio (essentially a simple hostel).
The refugio options are the most expensive because they provide real shelter, beds, and running water. Some campsites have options to stay in pre-set tents, or wooden tent platforms to set up your own tent upon, both of which are more expensive than the most basic reservations, where you simply find space in the designated campground to set up camp.
You may choose to select different levels of comfort at each campsite, but you’ll have to dig into the websites of Vertice and Las Torres to figure out what options are available.
Like many of the decisions to be made when planning a trip to Torres del Paine, there are trade-offs. A night in a refugio may sound nice, with a little reprieve from the elements and a real bed to sleep on, but you pay more and don’t get the open-air camping experience. A wooden tent platform gets you off the cold ground, but it’s rock hard and can be trickier staking your tent into the ground.
6. Understand how to get there
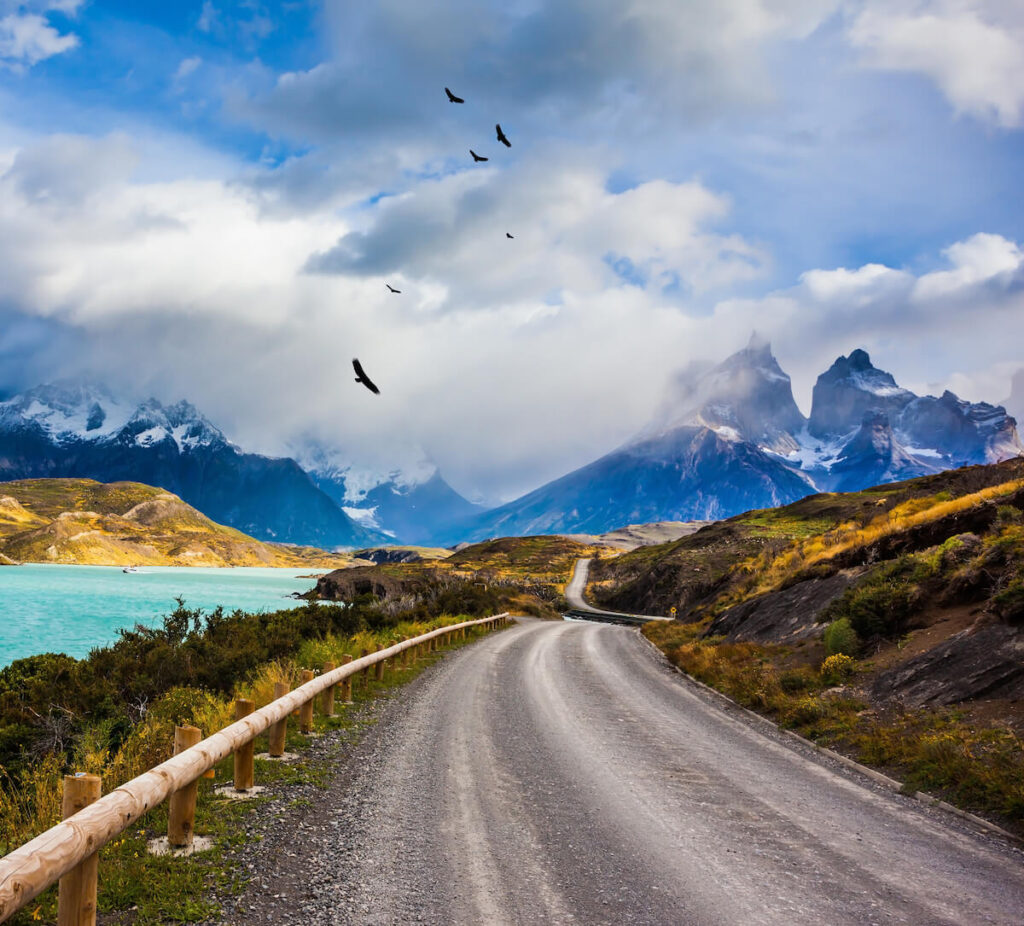
This might be obvious, but you have to make sure you will be allowed into the park. Once you know your route, the number of days you’re going to be trekking, and where you plan to stay, you can purchase your entry to the park. You’ll be asked about your length of stay and specific locations, which is why those need to be planned out first.
From there, there are many physical steps to get to the park. Odds are, the first step will be a flight into Chile, likely landing in Santiago, the country’s capital city.
From there, there is one town that is the most convenient for getting to Torres del Paine, and that is Puerto Natales. It serves as a hub for Patagonian excursions, is home to many outfitters, and has several bus services that take hikers from Terminal Rodoviário to Laguna Amarga.
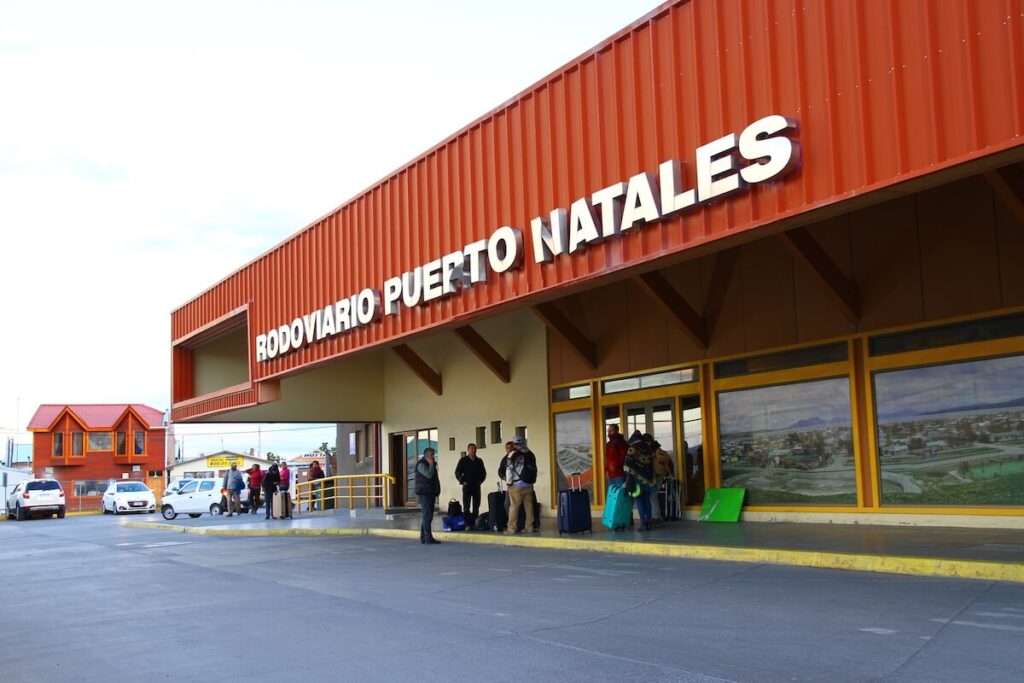
It’s not required, but it’s best to purchase a ticket ahead of time to avoid the madness in the morning. Bus Sur is popular and well-liked for this leg of the journey, which typically runs its first route of the day starting at 7:00 a.m. Be sure to purchase a round-trip ticket so you have a way to get back to Puerto Natales!
A lake that borders the park, Laguna Amarga, and its corresponding visitor center serve as the checkpoint run by the park rangers. Upon confirming you’ve reserved park access, there are a couple of options.
The first is taking a small shuttle bus to the Torres del Paine welcome center and trailhead, which runs regularly. Bring cash for this, as you can purchase a cheap ticket. Otherwise, hop back on the same bus that came from Puerto Natales, and continue to Pudeto, where tickets can be purchased for the catamaran across Lake Pehoé to start the trek at Paine Grande.
Note: When the trek is over, be sure to make it back to the welcome center, or, if you’re taking the catamaran, back to Pudeto in time according to the bus operator’s schedule to catch the bus back to Puerto Natales, as buses run fairly infrequently.
7. Have a place to stay before
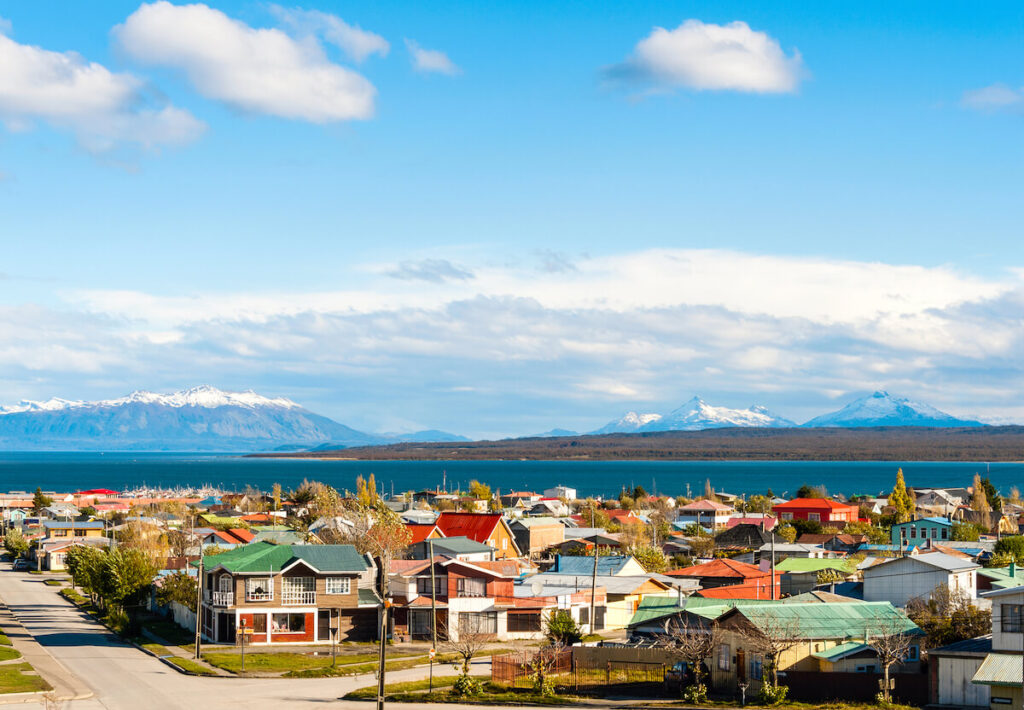
As has already been covered, the best place to stay on the eve of an expedition into Torres del Paine is Puerto Natales.
Many travelers don’t have all of the requisite gear necessary to complete the full trek. So rather than buying all of it and schlepping it all the way down to the far southern edge of the earth, it can be dually advantageous to rent gear from your place of shelter in the days before your trip.
The city of Puerto Natales is covered with hostels and hotels, many of which also operate as outfitters. Because adventure seekers are so core to their business, most are quite knowledgeable about what gear is necessary, and can answer specific questions or concerns about your upcoming trip.
Things like sleeping bags, tents, fuel canisters (not typically airplane-friendly), trekking poles, and cookware can be rented from hostels and outfitters.
One of the best options for a hostel-outfitter combination is El Patagónico Hostel, located in the heart of Puerto Natales. You can rest your head here the night before your trip and be sure of a firm bed to sleep in upon your return, all while holding your non-hiking gear in a safe place, and providing much of the equipment you need for your trip.
Packing for your trek
8. There are a few “must-haves”
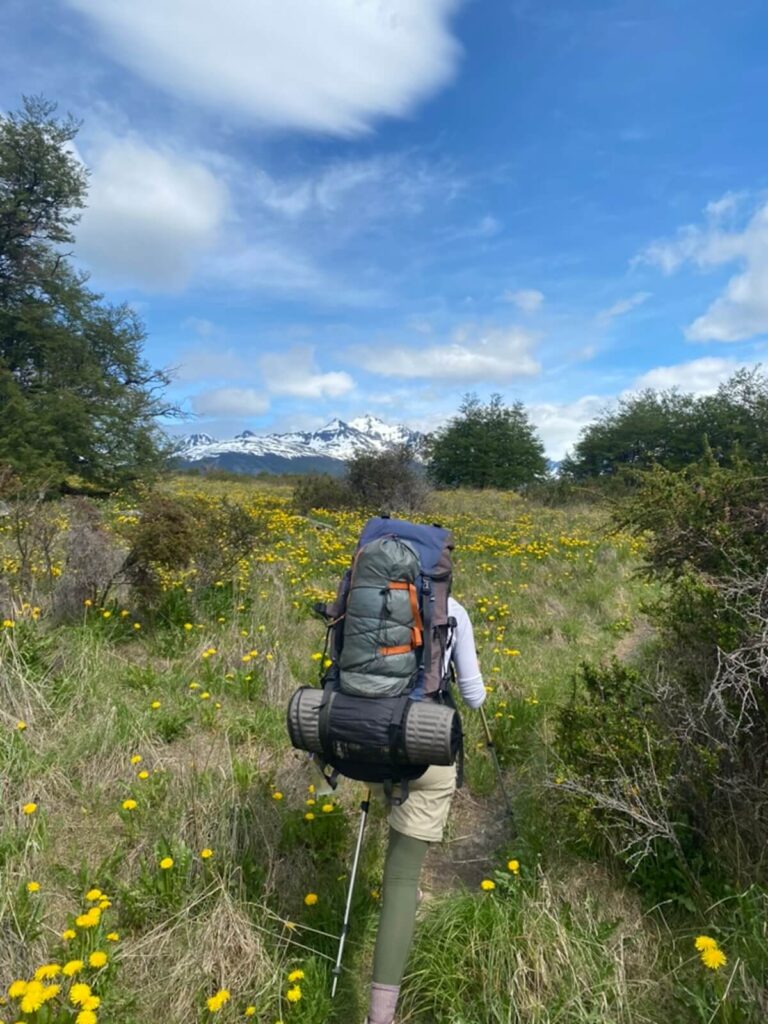
One of the most common questions, and for good reason, is how to pack for a trip to Chilean Patagonia. This section could get really long, so I’ll provide some quick one-liners to live by, followed by short explanations and a suggested list of “must-haves.”
Trade-offs are the name of the game, weight versus necessity. You’ll want to have all the requisite gear, but anything you end up bringing into the park that you don’t eat must be carried during the trek’s entirety.
When it comes to clothing, think of the bare minimum of what you need to pack, and then halve it. You can only fit so many pairs of clothes into your pack, and you may be surprised to see your pack full before stuffing in a single pair of socks.
Trekking in Torres del Paine is not a fashion show and it’s not about smelling the best, so you can get by packing a single durable pair of hiking pants, for example.
Like your mother has probably told you, wear layers. Torres del Paine is notorious for unpredictable weather. Hikers often strip down to a single short-sleeve layer while hiking mid-day, only to wake up in the mornings needing hand warmers.
Weather systems carrying rain and snow emerge quickly, and hikers should be ready to keep themselves dry with lightweight layers like a rain jacket. Packing and wearing plenty of layers, rather than bulky jackets provides flexibility to add or subtract warmth throughout the day, without adding too much weight.
Use this list as a starting point for packing the essentials for your trip. The time of year will dictate weather patterns, however, these items should apply year-round.
- Water filter (Sawyer Squeeze is a great option)
- Sunscreen
- Trekking poles
- Raincoat
- Fuel canister
- Hiking boots
- Trekking backpack
- Cookpot
- Water bottle
- Tent
- Tent sleeping pad
- Travel insurance
- Warm gloves
9. Plan out your meals

Trekking in Torres del Paine is taxing on the body through the long treks, the changing weather, and the extended amount of outdoor exposure. Hikers should be taking in more calories than normal, to sustain the energy required to complete each day of trekking.
To make sure that you carry enough food, it can be a helpful exercise to create a day-by-day list of what you plan to eat for each meal, so that you both bring enough, and don’t end up eating two days’ worth of food on your first day, leaving you scrounging at the end of your trip.
That said, to hammer this point home, a balance must be struck. The same weight considerations that must be made for clothing must also be made for food. It might be tempting to stock up on all the freshest ingredients in Puerto Natales, but you’re going to want your food pack to be light, and the food to last days without refrigeration.
Freeze-dried food is a hiker’s best friend, as it is lightweight, filling, and won’t go bad. Brands like Mountain House and Backpacker’s Pantry have plenty of variety available, and nowadays camp food is actually quite tasty.
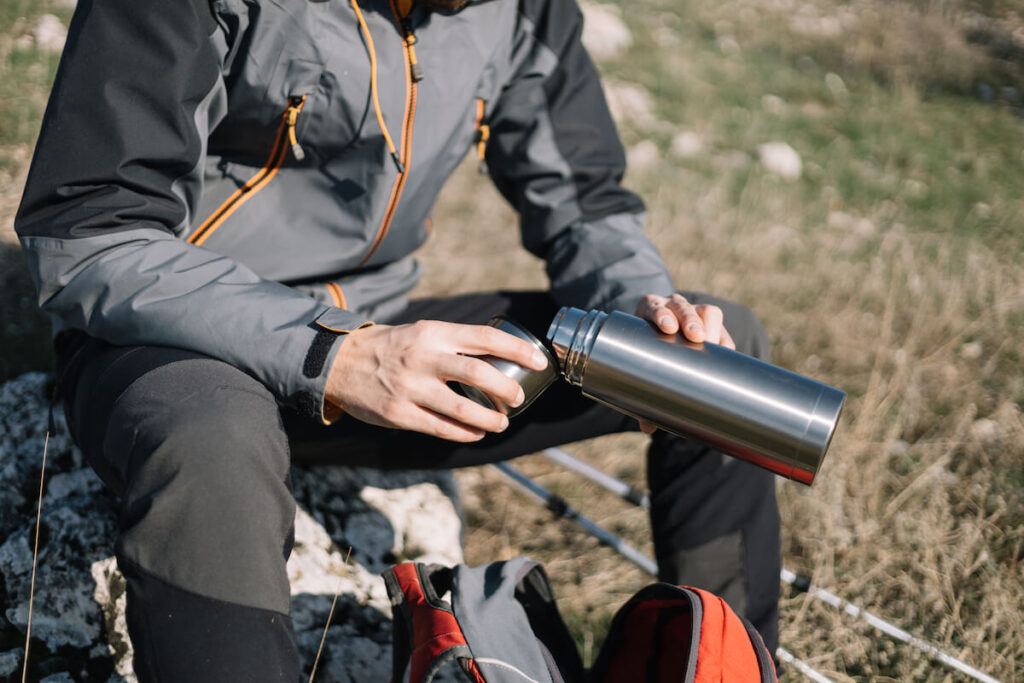
When in Puerto Natales in the lead-up to your trip, it’s a good idea to roam around town and stock up on the food you’ll bring. Unimarc, a large grocery store, is a common option for hikers, and there are plenty of little coffee and provisions stores around town. If you’re a trail mix fiend like myself, you can try a shop called Frutos Secos, where you can create your own mix.
But to ease any concerns over running out of food, each campsite includes small provisions canteens, where food and drinks can be purchased. Some are more well-stocked than others, but often you’ll be able to purchase small snacks like chips and candy bars, some canned foods, and as a special treat, there are commonly well-deserved bottles or cans of beer. Again, bring cash.
Of the campsites that contain refugios, you can also purchase full meals served on-site, as well as boxed lunches to take for the road. These are more expensive than subsisting purely on your own food, but it can be nice to have a meal made for you, and you don’t have to carry the weight with you as you go.
10. The little things matter
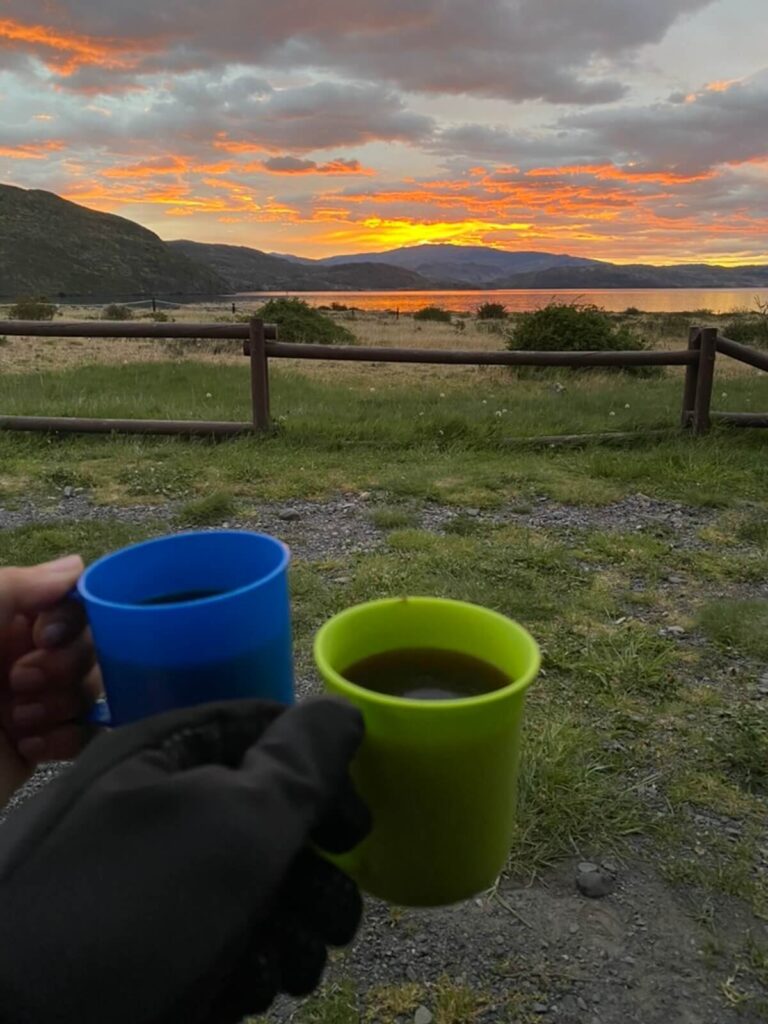
Having already covered the bare essentials for the trip, it’s time to mention the additional items that can in theory be left out, but can go a long way toward making the adventure more comfortable.
On comfort, little items like chapstick and hand lotion can be a helpful part of a nightly or post–hike self-care routine that helps you unwind after a big day.
Now, each refugio should have toilet paper, and most do. That said, bring along extra toilet paper for emergencies along the trail, or for the unfortunate event that the toilets at the refugio have been…wiped out.
Unless it’s your job to circle Torres del Paine, I wouldn’t recommend donning sandals during the trek. But once you make landfall at camp, your feet will thank you for a little fresh air. So packing some Crocs or open-toe sandals can be a nice luxury to have while traversing the campsites.
Depending on your tolerance, or like myself, a lack thereof, to the cold, hand warmers might fall into the “must-have” category. But even for those who are more equipped for the cold, bringing a few packs of hand or toe warmers can make those extra cold nights all the more enjoyable.
Headgear also helps. You’re out in the wild after all, often with long stretches, possibly hours on end, without shade. Having a hat and sunglasses can help provide some reprieve from the sun, which is especially valuable when there’s glare off the snow and water.
Flashlights are nice, but headlamps are a level up in utility. The summer months have a remarkable amount of daylight, but for the other months of the year, there may be times when you’ll have to pack up camp in the dark to get a beat on a long day of hiking. Plus, everybody needs to hit the latrine in the middle of the night every now and then, and it’s better to be able to see where you’re going.
Executing your trek
11. Prepare physically

Having a baseline level of fitness coming into the trip is necessary, but more crucially, a prerequisite to enjoying the hike along the way.
When completing the trek in the typical time span, whether it’s the four to six days for the “W,” or the seven to nine days for the “O”, there are few days with hikes under five hours long. The terrain’s steep inclines, quad-punishing descents, and long, never-ending straightaways are challenging, particularly when you have a heavy pack on your back.
There are two basic areas to focus on when it comes to physical preparation for the trek. The first is endurance. Training by exercising for long periods will help prepare the body for long days on the trail. Riding a bike will help, but bear in mind that the trek will be on two feet, not two wheels, so getting in some long walks, or better yet, long runs, will set you up for success.
The second area is strength. Carrying the pack asks a lot from your shoulders and core, steep inclines put pressure on your glutes, and the descents test your quadriceps. Training through strength exercises, ideally with some weights such as dumbbells, can go a long way in preparing your body.
12. Set up camp thoughtfully
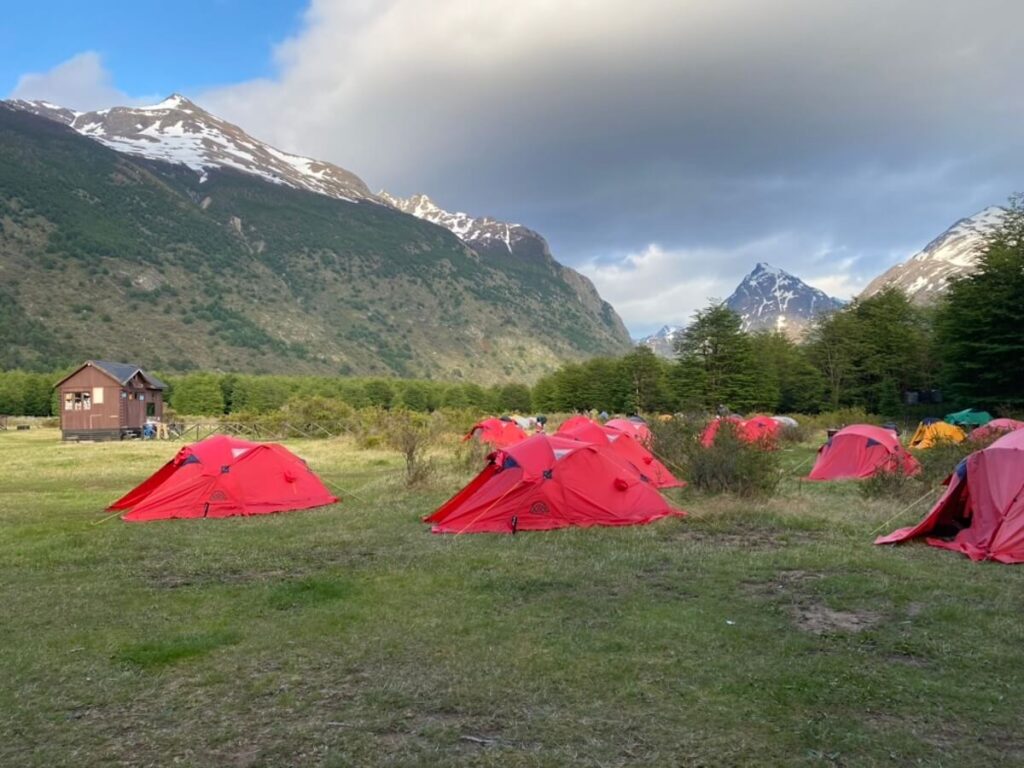
Tent position is important to ensure a comfortable camp experience. Choose a patch of earth that is flat and soft. Soft because it’ll ensure that the tent stakes can be pounded into the ground without expending too much effort, and it will provide a more comfortable surface to sleep on.
The tent site should be flat because, again, most people don’t enjoy sleeping at inclines, so it’ll be more conducive to a good night’s sleep.
But if there’s no avoiding sleeping at an angle, make sure to sleep with your head at the top of the slope to keep away from any pooling water if or when it rains.
Having learned this lesson the hard way, losing a few tent stakes in the process, the best tent locations should have some protection from the wind. While camping in the middle of a field may sound nice, that’s where you’re more likely to encounter Patagonia’s legendary winds, which can be strong enough to move the tent while you’re still in it. Your best bet is near the bank of a hill or the edge of a forest for some wind protection.
13. Hike safely
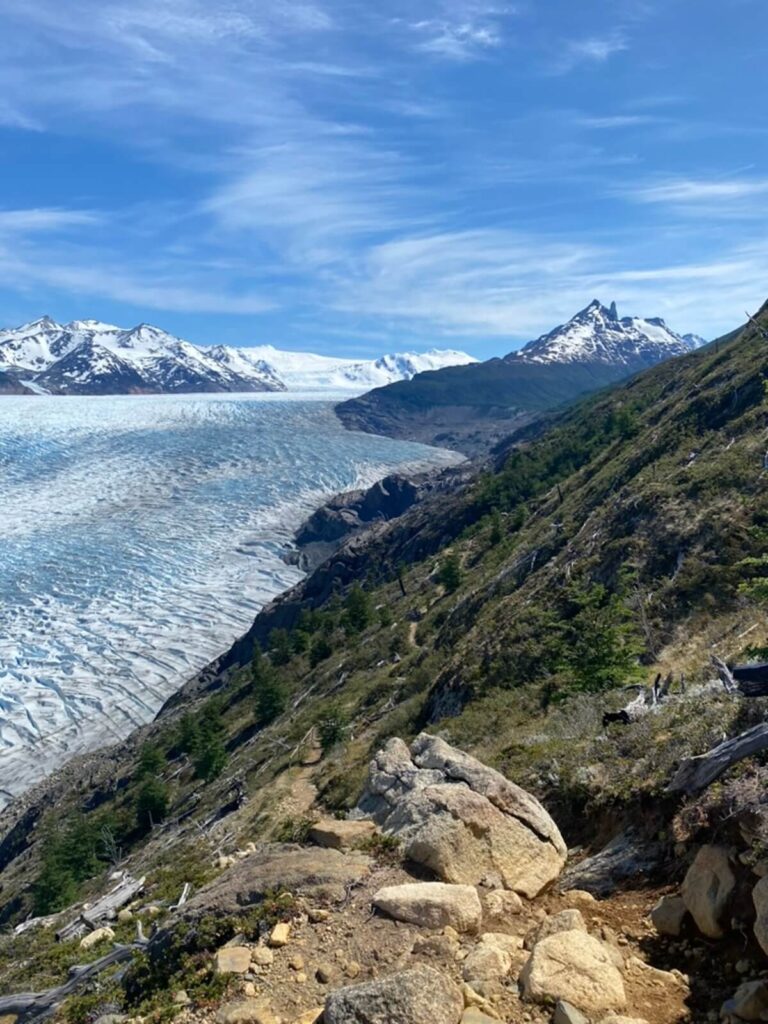
At the risk of sounding overdramatic, it’s helpful to remember that when you’re out in Torres del Paine, you are out in the wilderness. There are park rangers to help in emergencies, and a few other hikers, but most of the time while on trail, you’re on your own. And while that isolation is one of the many reasons to visit the park, it means that hikers need to act responsibly.
There are river crossings that can be risky, particularly after rain, that need to be navigated thoughtfully. There is often snow and ice in the higher, steeper altitudes of the park, which can be slippery, especially while on a descent.
Some trails are precariously and narrowly perched atop precipitous drops. Even flat gravel trails should not be mindlessly traversed, for a rolled ankle could make navigating the route infinitely more difficult.
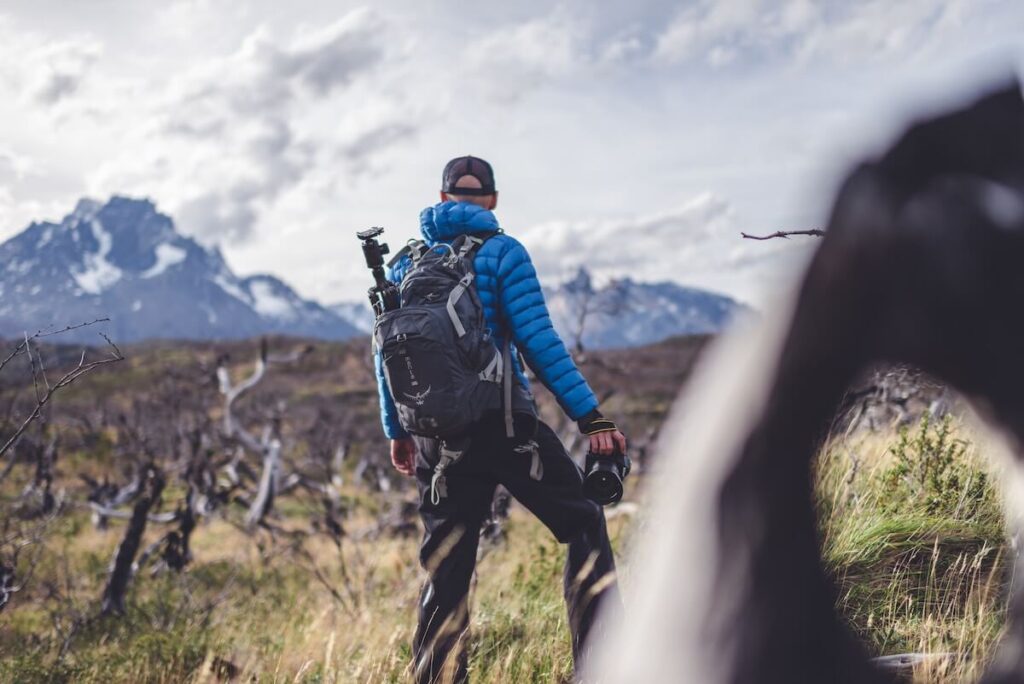
So, the advice here is to take things fairly slow, which I must say is apt advice anyway, so you have time to thoroughly bask in the scenery around you. From first-hand experience, I can say that there are no prizes given away for finishing the day’s hike first, and the views from the trail are almost always more stunning than from camp.
Know your limits, don’t be afraid to pause to catch your breath, and take the time you need to hike intelligently and safely.
14. Drink it all in
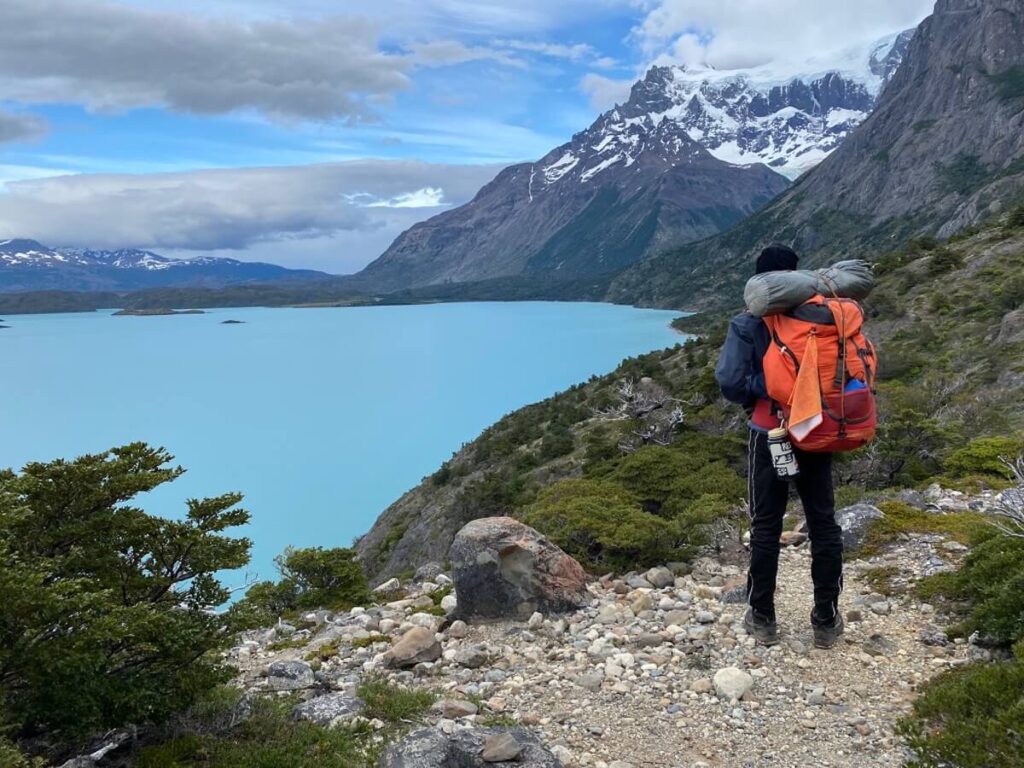
Tying in nicely with the previous tip, take the time to appreciate and enjoy the magnificent landscape that surrounds you. At the crests of the trail, at John Garner Pass, at Las Torres, at Lago Dickson, or along Mirador Británico, take a minute to breathe and observe these astonishing places that are unique to that part of the world.
A literal interpretation of this tip is also to take advantage of the little canteens within each of the refugios, and to grab a cold (or depending on the time of year, lukewarm) Cervesa Austral while you rehash the highlights and challenges of the day. Regardless of which camp you find yourself settling into, it’s likely one of the most scenic happy hour spots you’ll ever have.
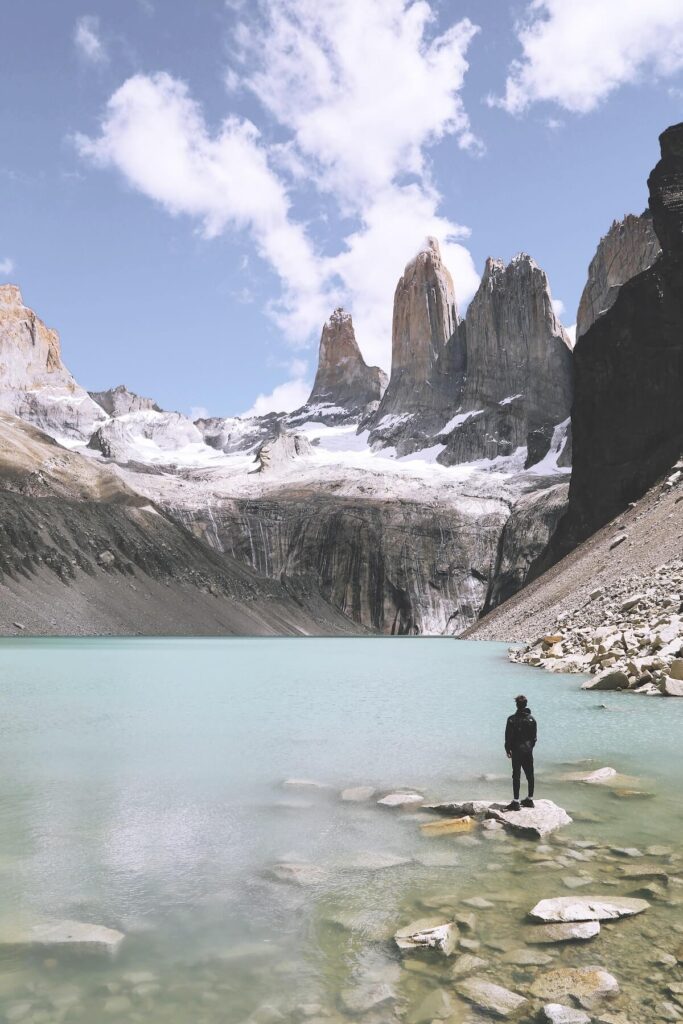
Remember that this is a bucket list trip for many hikers, probably yourself included. So take time to enjoy the ride.
Bonus tips

There are some tricks of the trade that experienced hikers pick up along the way, and I’ll try to throw in a few minor ones I’ve learned.
Everybody hates wet socks. So when you set up camp each day, hang your socks on your trekking poles to dry out in the sunshine.
The night, and with it the cold, descends quickly once the sun begins to set. Once it starts, be sure to layer up so that you don’t go to bed already cold. Or else it could be a long, chilly night.
Take advantage of the usually unfortunate occurrence of waking up in the middle of the night. Few places in the world have night skies as open as Torres del Paine.
What to do after trekking

After you’ve completed your trek of Torres del Paine, you’re likely to feel a wave of elation followed by a wave of exhaustion. Yet you still find yourself near the tip of the contiguous American landmass, not far from Antarctica. It would be a shame to let the opportunity for further exploration go to waste. Luckily, there are some great options to choose from.
Since most roads back from Laguna Amarga lead back to Puerto Natales, it makes sense to start there.
The town of Puerto Natales is fairly small and dominated by backpackers, but there’s still some exploration to be done. There are miles of trail and waterfront pathways to bike, run, or walk, all with views of mountains extending west into the broader Magallanes Region.
The city also has plenty of restaurants, and even a (fairly) new brewery, Baguales, where you can go swap stories with other backpackers. You can also visit the Muséo Historico, where you can learn a bit about the indigenous communities of the region.
The next closest major city is Punta Arenas, most popularly known for its base as a launching point for expeditions to Antarctica. But it’s home to a thriving University of Magallanes, many inviting tree-lined squares, and a pretty boardwalk looking out to Tierra del Fuego.
You can explore the town and its great food, including the spectacular La Luna bar, and take the opportunity to take a cruise through the Strait of Magellan.
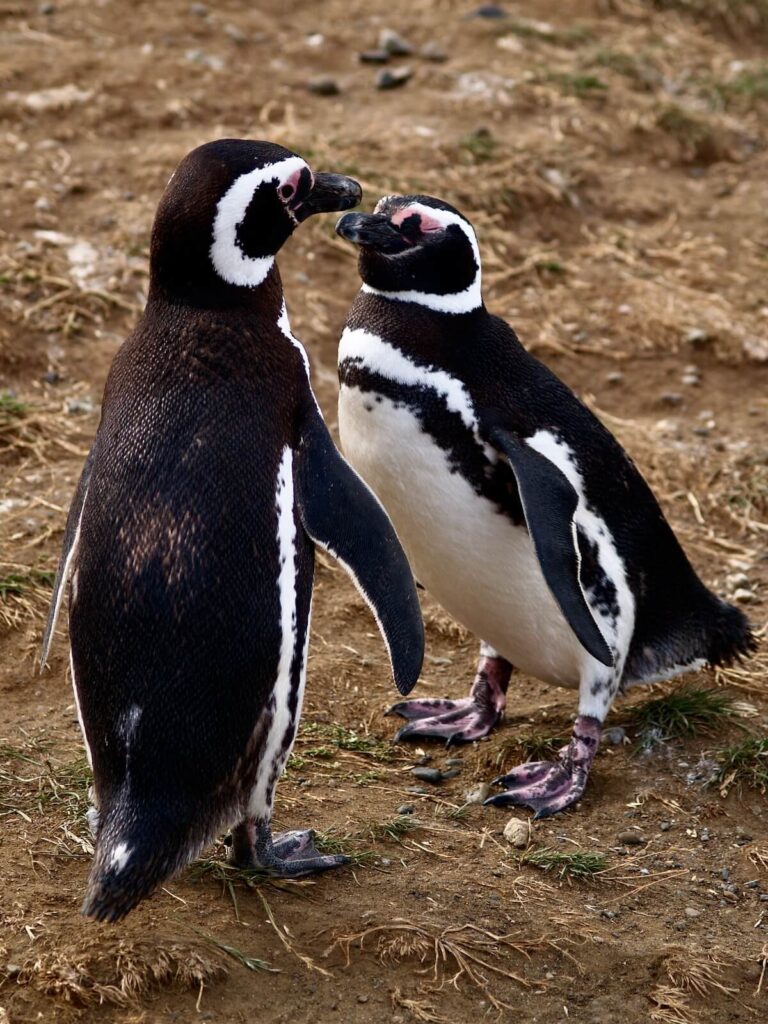
There’s also a type of penguin native to Tierra del Fuego, called the Magellanic Penguin. These penguins are relatively diminutive in size, and therefore very cute, and you can see them on tours that go to Magdalena Island, such as this nature cruise, which leaves from Punta Arenas. You’ll often see tours paired with visits to islands that are home to loud, aggressive, barking sea lions, which is another entertaining sight to see. But keep your distance.
Lastly, you could stick with the hiking theme, and head to other Patagonian hiking adventures further afield. El Chaltén in Argentina is perhaps the other most popular option. Or head north to Villa O’Higgins, and drive the Carretera Austral, stopping for hikes along the way.
Wrapping up

All the difficulties, challenges, and logistics that go into embarking on a trip to Chilean Patagonia, and specifically Torres del Paine, come as a benefit to hikers who navigate it all, not to mention the park itself. For a place that holds such sheer beauty and wonder surely wouldn’t remain that way for long were it easy to get to and experience.
Taking the steps outlined in this guide will not only ensure that you can successfully and safely enjoy a trip to Torres del Paine, but it will make certain that you go into it with the level of respect that it deserves. It’s a place that should not be taken lightly, should be honored, and will often leave each visitor feeling humbled and awed by what it holds.
Everyone from first-time hikers to veterans will benefit from taking the 14 tips to heart, to truly enjoy one of the most beautiful places in the world. Views of the expansive southern Patagonia ice field, or walking aside the length of Grey Glacier, or picnicking along Rio Paine will be all the more satisfying if you come into it prepared and ready to enjoy the ride.
